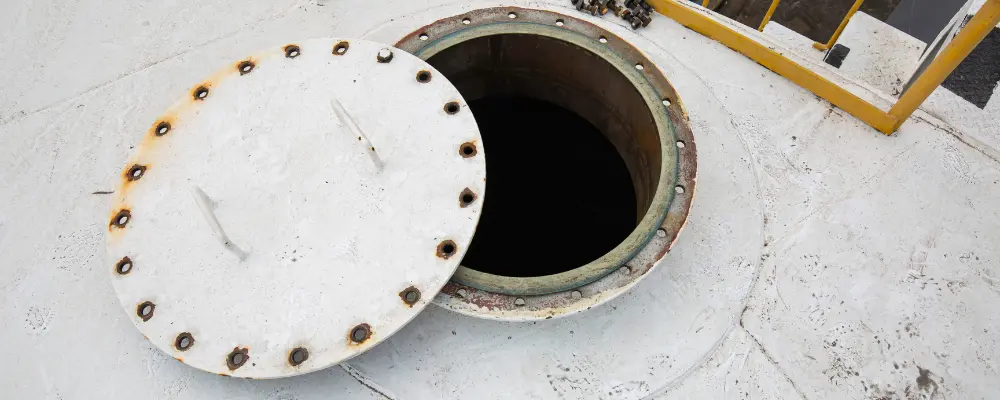
Constructing a sump is an important element of your house construction. A sump acts as a multipurpose water storage for both borewell water as well as for municipal corporation water and will be a great alternative if one fails. Although it is the sump that gets constructed first, it can only happen hen the entire plane has been properly laid out. Constructing a sump based on its capacity can happily if by design you know the total capacity of occupancy for the entire project.
What is a Sump or Water Sump?
A sump is a low-lying pit or space, usually in a basement or a construction site, where water collects. It’s designed to prevent flooding by gathering water that comes from rain, leaks, or groundwater. Once the water collects in the sump, a pump (called a sump pump) removes the water and keeps the area dry. This helps protect buildings from water damage. Meanwhile, the Water sump is nothing but the same, the collected water will be used for agricultural & Household works.
How to calculate sump capacity
Step 1: Understand Your Water Needs
Before diving into the calculations, it’s essential to determine how much water your household consumes daily. On average, a person in India uses about 135 liters of water per day for all purposes, including drinking, cooking, bathing, and cleaning. [As per “INDIAN STANDARD
CODE OF BASIC REQUIREMENTS FOR WATER SUPPLY, DRAINAGE AND SANITATION” Report]
Example:
If your household consists of 4 people, the daily water requirement would be:
4×135 liters = 540 liters per day.
Step 2: Determine the Number of Days of Water Storage
Next, decide how many days’ worth of water you want to store in the sump. This depends on the water supply frequency and any potential shortages. Typically, a 3 to 5-day storage is advisable.
Example:
If you choose to store water for 3 days, your total water requirement would be:
540×3 = 1620 liters.
Step 3: Consider Additional Storage for Contingencies
It’s always a good idea to account for some extra capacity to cover unexpected situations like delayed water supply or increased water usage during certain periods. An additional 10-20% is generally recommended.
Example:
If you add 10% extra capacity for contingencies:
1620×1.10 = 1782 liters.
Step 4: Calculate the Sump Dimensions
Now that you have the required capacity in liters, you can calculate the dimensions of the sump. The volume of a rectangular sump can be calculated using the formula:
Volume = Length × Width × Height
This formula is generally used when the dimensions are in meters, and the result is in cubic meters (1 cubic meter = 1000 liters).
Example:
Let’s say you want your sump to be 2 meters long, 1 meter wide, and 1 meter deep. The volume will be:
2×1×1 = 2 cubic meters = 2000 liters.
This volume of 2000 liters exceeds your required capacity of 1782 liters, making it a suitable size.
A few tips and ideas about sump construction
On average a project having one house will need a sump capacity of about 6000-7000 litres. A basic sump of about 1500 litres is used for construction purposes initially and then expanded. This will make sure there is water availability during scarce times also. Refilling happens when the volume falls below 500-1000 litres. For each additional house expanding to 4000-5000litres /home is necessary. This will be quite expensive but is very much necessary.
Important points to keep in mind
Where to locate: In most cases the area below the car porch is dedicated to making the sump as this will provide ample space.it is preferable to locate the sump close to the road where water lines will run and it will be easy to create the connection.
Depth: Sump depth is usually chosen between 4.5- 5 feet ideally to make sure a man cleaning it will be able to keep his head out to avoid suffocation.
The size: The size will be calculated based on capacity. A rough estimate is that 1 cubic feet can contain 28 litres of water, and 6000 litres will need 215 cubic feet. Now diving this by the height 5 feet you get 43 sq feet. Now this can be divided as length*breadth based on your space.
Walls: Make sure the walls of the sump are higher than the ground as this will help stray water from rain seeping into the tank.
Materials to use during construction:
Concrete Tanks: This is the most preferred material for constructing a sump. This will act as the best underground tank and you will not have to worry about water seepage and contamination of water from underground or sewage. This will last for a long time and most importantly east to maintain. Sump cleaning is also easier in this case.
Readymade plastic tanks: These tanks are available in various capacities like that of overhead water tanks. The biggest advantage is how fast this can be made as no plastering or other work will be required. This is not considered as a great option to leave for a long time as this can cause contamination itself as well as can give up under pressure from the weight above.
Bricks: This type comes with the greatest risk of leakage if not constructed with proper care.
Good quality plaster that is rough needs to cover the outside whereas smooth plaster needs to cover the inside. A plastering mesh helps avoid cracks. The plastering should happen in one go to avoid cracks.
Constructing: Water pressure is subjected to be higher on the corners and hence 90-degree corners need to be avoided and going to rounded corners is a good choice. This will help distribute pressure over the area and also make it easy to clean.

